Table of Contents
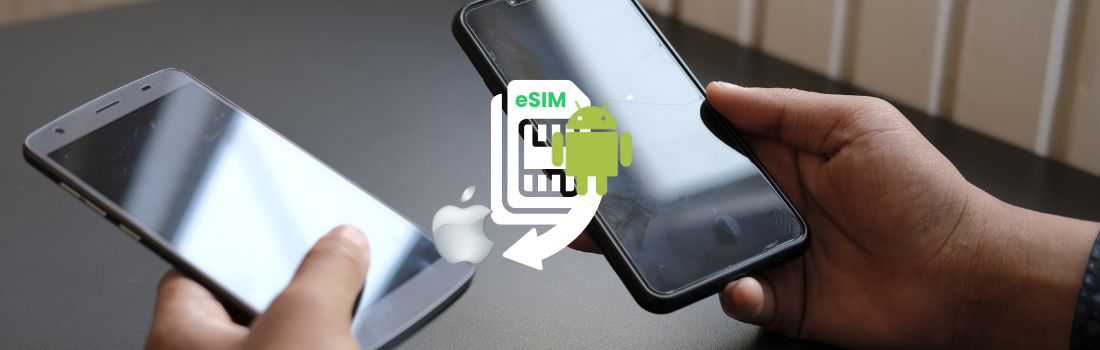
Upgrading to an iPhone and need to transfer your eSIM from an Android model? Unlike traditional SIM cards, eSIMs require a little extra care when moving to a new device. While there isn’t a direct transfer option, the process is simple once you know the steps. Here’s how to make the switch and stay connected.
Key differences when transferring eSIMs vs physical SIMs
Unlike physical SIMs, eSIMs can’t be physically swapped between devices. Instead, you’ll need to deactivate your eSIM on your old phone and set it up again on your iPhone. This process can vary depending on your carrier, so always check their guidelines before starting. You can often find these on their website’s FAQs or support articles, or you can contact their customer service teams directly for detailed instructions.
Step-by-step guide to moving your eSIM from Android to iPhone
Step 1: Gather your eSIM information
Before you begin, make sure you have all the details needed for the transfer:
- The QR code associated with your eSIM (if available)
- The activation code provided by your mobile provider
- Contact details for your carrier in case you need assistance
These details will be essential for reactivating your eSIM on the iPhone.
Step 2: Remove the eSIM from your Android phone
To deactivate your eSIM, follow these steps:
- Open Settings and go to Network & Internet (or Connections)
- Select your eSIM profile
- Tap Remove eSIM or Delete SIM
This won’t cancel your plan but will disconnect it from your Android device.
Step 3: Prepare your iPhone for eSIM setup
Before transferring your eSIM, ensure your iPhone is updated to the latest iOS version. Software updates often include compatibility fixes, ensuring a smoother setup process.
Step 4: Add the eSIM to your iPhone
There are three methods to add an eSIM to your iPhone, depending on your carrier’s setup:
Using a QR code:
- Open Settings and go to Cellular (or Mobile Data)
- Tap Add Cellular Plan
- Use your iPhone’s camera to scan the QR code provided by your carrier
Using an activation code:
- Navigate to Settings > Cellular > Add Cellular Plan
- Choose Enter Details Manually
- Input the activation code and other required information
Via your carrier’s app:
- Download your carrier’s app from the App Store
- Follow the in-app instructions to activate your eSIM
Step 5: Complete activation
Once your eSIM has been added, follow the on-screen instructions to complete the activation. Your iPhone will confirm once the process is complete.
Step 6: Test the connection
To ensure everything is working, make a call, send a message, or browse the internet. If you encounter any issues, check the troubleshooting tips below.
Troubleshooting Tips
If your eSIM doesn’t activate right away, try these solutions:
- Restart your iPhone. While this is sometimes seen as a quick fix, it can be very effective. A simple restart can resolve many activation glitches.
- Check for iOS updates. An outdated iOS could cause problems with your new eSIM. Ensure your iPhone is running the latest software version.
- Verify carrier settings. Some providers require additional setup steps, so check their support page.
Still having trouble? Contact your mobile provider for assistance. They may need to issue a new eSIM or help you with the activation process.
Easy eSIM transitions from Android to iPhone in the US
US carriers, including AT&T, Verizon, and T-Mobile, generally support eSIM technology, but the transfer process can vary between providers.
Key points to remember:
- Many US carriers lock phones to their network, meaning your Android device may need to be unlocked before transferring the eSIM.
- Some US providers offer eSIM transfers through their apps, while others require you to request a new QR code or activation details.
- The US uses both GSM and CDMA network technologies, which can impact compatibility. Ensure your new iPhone supports your carrier’s network bands.
- If you travel internationally, look for global eSIM plans that allow seamless switching between countries without incurring high roaming fees.
- Dual-SIM functionality is common in the US, letting you keep a personal number active alongside your business eSIM on the same device.
Tip: If you’re unsure about your carrier’s eSIM transfer process, contact them before deactivating your current eSIM. Some networks impose limits on how often you can switch devices.
Stay connected with YourBusinessNumber
Switching your eSIM from Android to iPhone doesn’t have to be a hassle. With these steps, you’ll be set up in no time. Our eSIMs are underpinned by award-winning network O2, and all our plans are designed specifically for small business use, able to be delivered in minutes with a QR code. So why wait? Get your business eSIM today!
Author:

George Lineker
Get A Virtual Number Now!
Receive your number for WhatsApp verification in just 3 clicks!